
If you’ve ever found yourself crawling behind your TV to swap HDMI cables between a gaming console, streaming stick, and Blu-ray player, you already know the frustration that comes with managing multiple devices in a modern home theater. As our entertainment ecosystems grow, the limited HDMI ports on most televisions and receivers become a genuine bottleneck. This is where HDMI switchers step in as an elegant, affordable solution—allowing you to connect all your sources to a single hub and toggle between them effortlessly. For those with more complex setups involving multiple displays, a video matrix takes this concept further by routing any input to any output across your system. Whether you’re a casual viewer or a dedicated home theater enthusiast, understanding how to leverage these tools can transform your experience. This guide walks you through everything you need to know about setting up a home theater with HDMI switchers, from basic installation to comparing the best options available for your specific needs.
Understanding Video Matrix and HDMI Switchers: The Basics
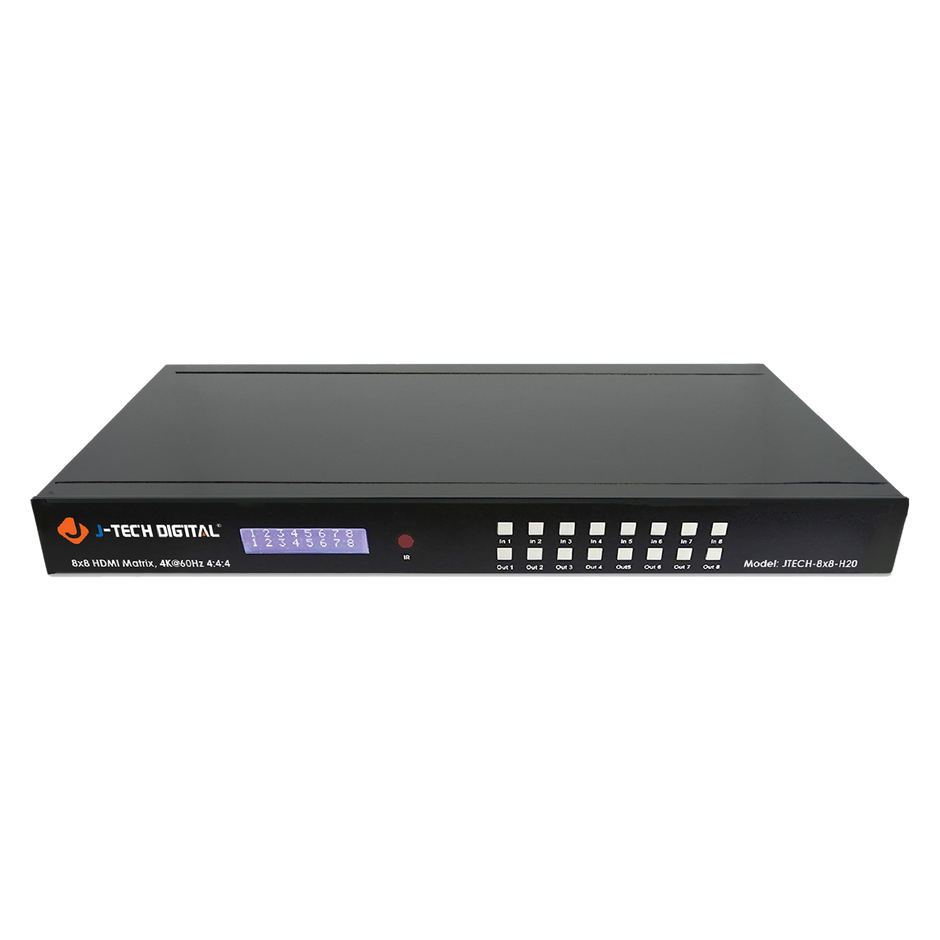
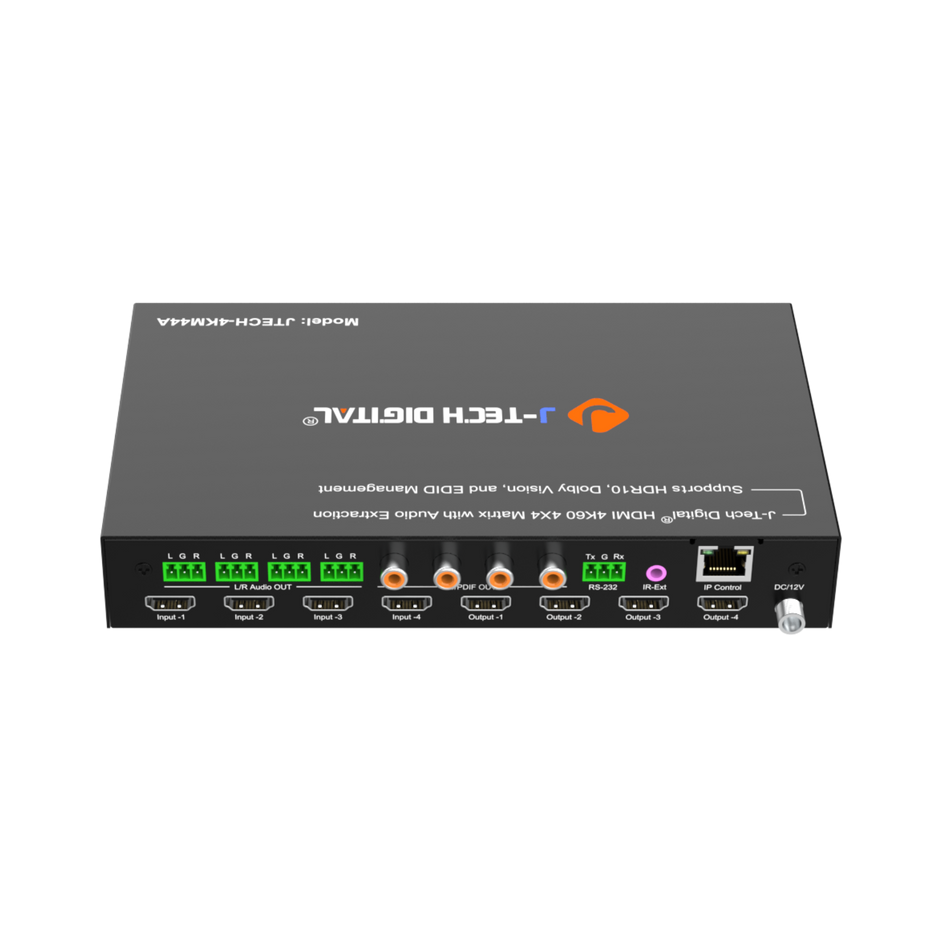
A video matrix is a sophisticated routing system that allows multiple video sources to be sent to multiple displays simultaneously. In a home entertainment context, think of it as a central command center where any input device—whether a gaming console, media player, or cable box—can be directed to any screen in your home. This makes it ideal for multi-room setups or installations where different family members want to watch different content on separate TVs from a shared pool of devices.
An HDMI switcher operates on a simpler principle: it consolidates multiple inputs into a single output. If your TV has only two HDMI ports but you have five devices, a multi-input HDMI switch bridges that gap by letting you select which source feeds your display at any given time. The key distinction is straightforward—a home theater switcher handles many-to-one routing, while a matrix handles many-to-many. For most single-display setups, a standard HDMI switcher provides everything you need without the complexity or cost of a full matrix system. Understanding this difference helps you invest in the right tool for your specific configuration.
Step-by-Step Guide to Setting Up Your Home Theater with HDMI Switchers
Setting up an HDMI switcher in your home theater is surprisingly straightforward, and most people can complete the process in under thirty minutes. Before you begin, gather your equipment: the HDMI switcher itself, high-speed HDMI cables for each source device (gaming consoles, streaming boxes, Blu-ray players, cable boxes), one HDMI cable to connect the switcher’s output to your TV or AV receiver, and a power adapter if your switcher requires external power.
Start by planning your layout and assessing your input needs. Count every device you want connected and consider whether you might add more in the near future—choosing a switcher with one or two extra ports saves you from upgrading later. Position the switcher in a location with adequate ventilation and easy access, ideally near your TV or within your media cabinet where cable runs remain short and tidy.
Next, connect all your source devices to the HDMI switcher’s input ports. Label each input mentally or with physical tags so you remember which port corresponds to which device. Then run a single HDMI cable from the switcher’s output to your television’s HDMI input or to your AV receiver if you route audio through a surround sound system. Once all physical connections are secure, power on the switcher and each source device. Navigate to the correct HDMI input on your TV, and use the switcher’s remote control or front-panel buttons to cycle through sources. Confirm that each device displays correctly and that audio passes through without delay.
Choosing the Right HDMI Switcher: Key Considerations
The number of input ports is your first decision point—most households do well with a five-port model, though smaller setups can get by with three. Resolution support matters significantly; if you own a 4K television, ensure your multi-input HDMI switch supports 4K at 60Hz along with HDR passthrough, otherwise you’ll be bottlenecked to lower quality. Audio format compatibility is equally important for home theater enthusiasts who rely on Dolby Atmos or DTS:X—verify that your switcher passes these formats without downmixing. Auto-switching is a convenient feature that automatically selects the most recently powered-on device, eliminating the need to grab a remote every time. Finally, consider build quality and whether the unit supports CEC pass-through, which lets your TV’s remote control the switcher seamlessly.
Troubleshooting Common Setup Problems
HDCP handshake errors are the most frequent headache, typically manifesting as a blank screen or a “content protected” message. Resolve this by power-cycling the switcher and all connected devices in sequence—turn everything off, then power on the display first, followed by the switcher, and finally the source device. Signal dropouts or intermittent flickering usually point to cable issues; replace suspect cables with certified high-speed or ultra-high-speed HDMI cables rated for your resolution needs. If your picture appears at the wrong resolution, check the switcher’s EDID settings—many models let you lock a preferred resolution so that source devices don’t default to a lower output. Keeping your switcher’s firmware updated also prevents compatibility problems with newer devices, so check the manufacturer’s website periodically for updates.
Comparing HDMI Switcher Options for Optimal Video Distribution
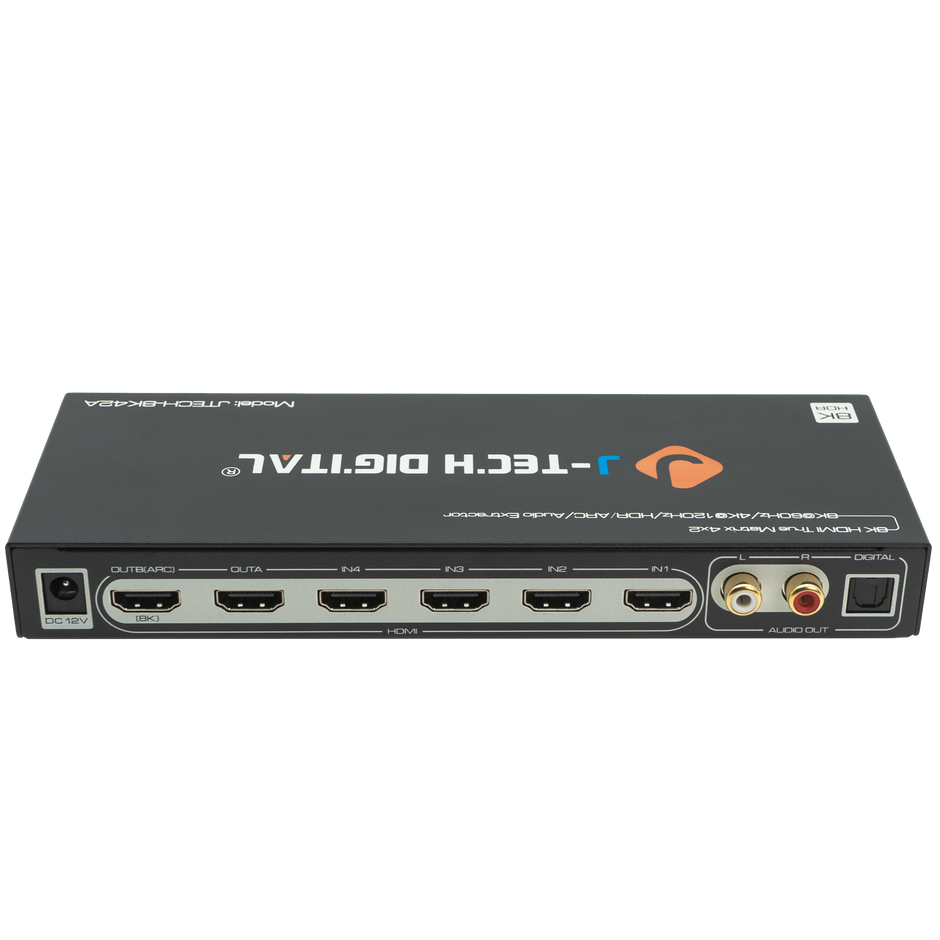
When evaluating HDMI switchers for your home theater, the market breaks down into three broad categories. Entry-level models typically offer three to five ports with 4K at 30Hz support—adequate for casual viewing but limiting if you game or watch fast-paced content where higher refresh rates matter. Mid-range switchers step up to 4K at 60Hz with HDR passthrough and often include features like automatic switching and IR remote controls, making them the sweet spot for most home theater enthusiasts. At the high end, you’ll find units that support HDMI 2.1 with 8K or 4K at 120Hz, catering to next-gen gaming and future-proofing your video distribution chain.
Build quality varies considerably across these tiers. Metal-chassis models dissipate heat better and tend to maintain more stable signal integrity over extended use compared to plastic enclosures. Bandwidth is another critical differentiator—an 18Gbps switcher handles current 4K HDR content comfortably, but a 48Gbps unit accommodates HDMI 2.1’s expanded capabilities. When comparing options, pay attention to whether the home theater switcher supports ARC or eARC passthrough, as this determines whether you can route audio back from your TV to a soundbar or receiver through the same connection.
Top Features to Prioritize in a Home Theater Switcher
EDID management stands out as perhaps the most underappreciated feature in a quality switcher. Proper EDID handling ensures your source devices always output the correct resolution and color space, preventing the frustrating cycle of renegotiation every time you switch inputs. Remote access—whether through an IR remote, RS-232 control, or a smartphone app—adds convenience, especially when the switcher lives inside a closed cabinet. Scalability matters too; choosing a unit with unused ports accommodates future devices without requiring a complete hardware swap. High-speed HDMI ports certified for your target resolution ensure you’re not introducing a weak link in your signal chain, and CEC compatibility allows unified control through your TV remote for a cleaner, more integrated experience.
Review of Recommended Multi-Input HDMI Switches
For budget-conscious setups with a single 4K TV and three or four sources, a basic five-port multi-input HDMI switch with 4K/60Hz and HDR support covers most needs effectively. These compact units work well tucked behind a TV or inside a media console. For dedicated theater rooms where audio quality is paramount, look for models explicitly advertising Dolby Atmos and DTS:X bitstream passthrough alongside eARC support—these prevent audio downmixing that cheaper units sometimes introduce. Gamers should prioritize switchers with low-latency modes and HDMI 2.1 compatibility to preserve variable refresh rate and auto low-latency mode signals from current-generation consoles. If your setup spans multiple rooms, stepping up to a matrix-style video distribution system—such as those offered by manufacturers like J-Tech Digital Inc that specialize in AV signal processing—gives you the flexibility to send different content to different displays from a centralized equipment rack.
Advanced Tips for Enhancing Your Home Theater Video Matrix
Once your basic HDMI switcher setup is running smoothly, several advanced techniques can elevate your video distribution to a more professional level. For rooms where your source equipment sits far from your display—say, in a basement equipment closet feeding a projector mounted thirty feet away—HDMI over Ethernet extenders solve the distance limitation that standard cables face beyond fifteen to twenty feet. These adapters convert your signal to travel over affordable Cat6 cabling, maintaining full 4K quality across runs of up to 230 feet without degradation.
Integrating your HDMI switcher with an AV receiver unlocks more sophisticated audio routing. Position the switcher before the receiver in your signal chain if you need more inputs than the receiver provides, or after it if you want the receiver to handle all audio decoding while the switcher manages video-only distribution to a secondary zone. For seamless switching without momentary blackouts, look for switchers with “instant switch” technology that maintains constant HDCP authentication across all inputs simultaneously. To future-proof your home theater video matrix, invest in fiber-optic HDMI cables for long runs and ensure your infrastructure supports HDMI 2.1 bandwidth—even if your current devices don’t require it, next-generation content and displays will demand those capabilities within a few years.
Building Your Ideal HDMI Switcher Setup
Setting up a home theater with HDMI switchers doesn’t require professional installation or a deep technical background—it simply requires understanding your needs and choosing the right tool for the job. As we’ve covered, a standard HDMI switcher solves the common problem of limited TV ports by consolidating multiple sources into one clean connection, while a full video matrix system extends that capability across multiple displays for whole-home entertainment. The installation process itself is refreshingly simple: plan your layout, connect your devices, link the switcher to your display or receiver, and test each input for proper video and audio output. When comparing options, matching your switcher’s capabilities to your actual usage—whether that’s 4K gaming, Dolby Atmos movie nights, or casual streaming—ensures you get the performance you need without overspending. Effective video distribution eliminates cable clutter, reduces wear on your TV’s ports, and creates a more enjoyable, frustration-free viewing experience for everyone in your household. Take the insights from this guide, assess your current setup, and invest in the switcher that brings all your entertainment together seamlessly—your future self will thank you every time you switch sources with a single button press.